How to Streamline Your Video Editing Workflow in 5 Steps
Cut revision rounds, reduce bottlenecks, and deliver faster. A practical guide to streamlining your video editing workflow with the right tools and processes.
If you manage a video editing team, you already know the pain: feedback scattered across email threads, files uploaded to three different platforms, and nobody quite sure which version of the cut is the latest. According to the Adobe Creative Trends Survey, 65% of creative professionals cite scattered feedback as their biggest workflow frustration. The creative work is not the bottleneck. The video editing workflow surrounding it is.
A disorganized production process does not just slow you down. It burns out editors, frustrates clients, and eats into margins. The good news is that most of these problems follow predictable patterns, and fixing them does not require overhauling your entire operation — just five deliberate changes to how work moves through your team.
Why Most Video Editing Workflows Are Broken
Before jumping into fixes, it helps to diagnose what is going wrong. Most post-production teams share a few common failure modes:
- Scattered feedback. Clients leave comments in email. Producers reply on Slack. Editors check a shared Google Doc. Nobody has a single view of what needs to change, so notes get missed and revision rounds multiply. A Filestage Report found that 60% of project delays in creative agencies are caused by unclear feedback.
- Unclear ownership. When a task sits in a vague “in progress” state with no assignee, it is easy for things to stall. Editors assume the producer is waiting on client feedback. The producer assumes the editor is already working. Meanwhile, the deadline inches closer.
- Revision chaos. The average video project goes through 3–5 revision rounds before final approval (Wistia). Without version control, you end up with files named Final_v3_REAL_FINAL_clientfix.mp4. Worse, someone approves the wrong version, and the cycle starts over.
- No visibility into the pipeline. Leadership cannot see which projects are on track and which are about to miss a deadline until it is too late to course-correct.
If any of that sounds familiar, the five steps below will address each of these problems directly.
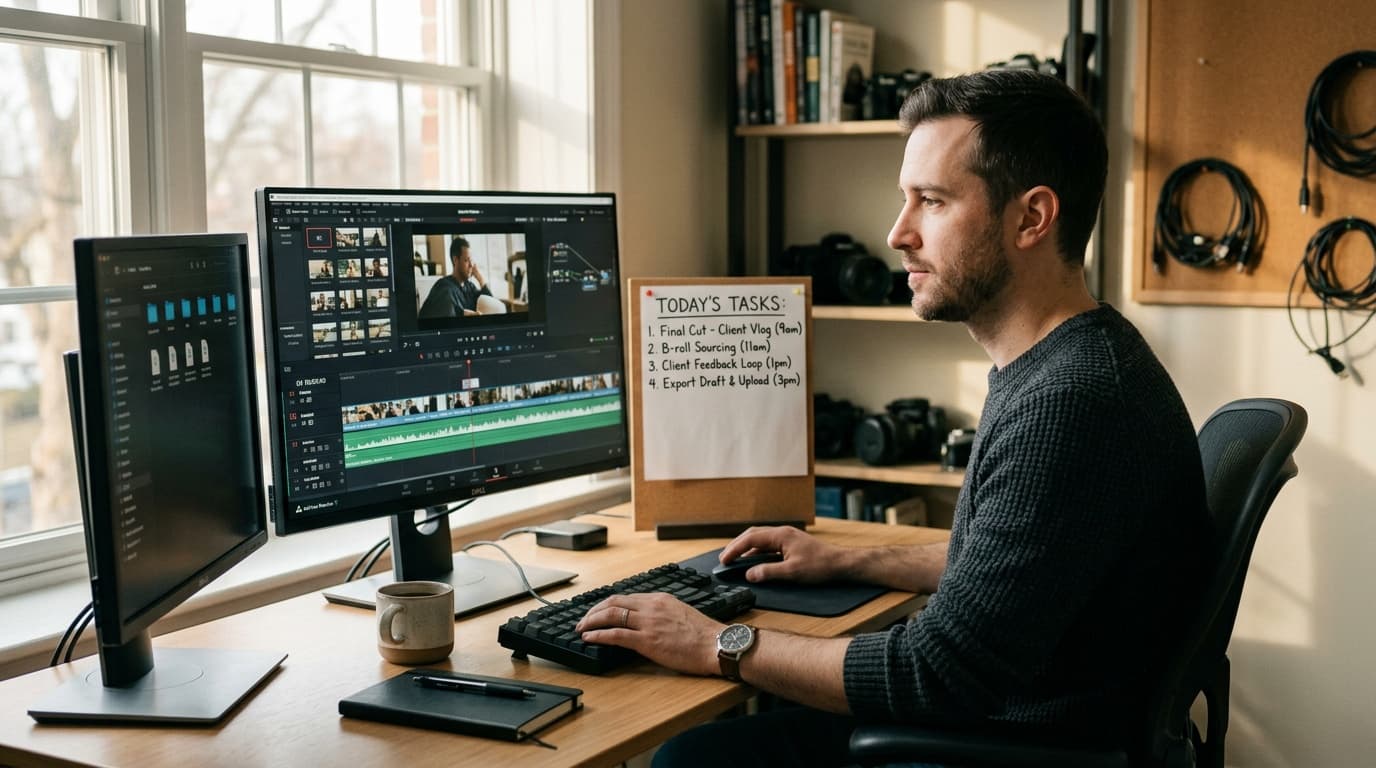
Step 1: Centralize All Project Briefs and Assets in One Place
The first step toward a reliable video editing workflow software setup is eliminating the scavenger hunt. Every project should have a single location where the brief, raw footage, brand guidelines, music tracks, and reference links live together.
This does not mean dumping everything into a shared Google Drive folder. You need a project-level container that ties the brief to the tasks that will execute it. When an editor opens a task, they should see the brief, access the assets, and start cutting without asking a producer “where is the footage?”
What to centralize
- Creative brief and shot list
- Raw footage and B-roll
- Brand assets (logos, color palettes, fonts, intro/outro templates)
- Music and sound effects with license info
- Reference videos or mood boards
- Client contact details and approval chain
The payoff is immediate. Editors spend less time hunting for files and more time editing. For a deeper look at how centralized platforms change team dynamics, see our guide to video collaboration platforms.
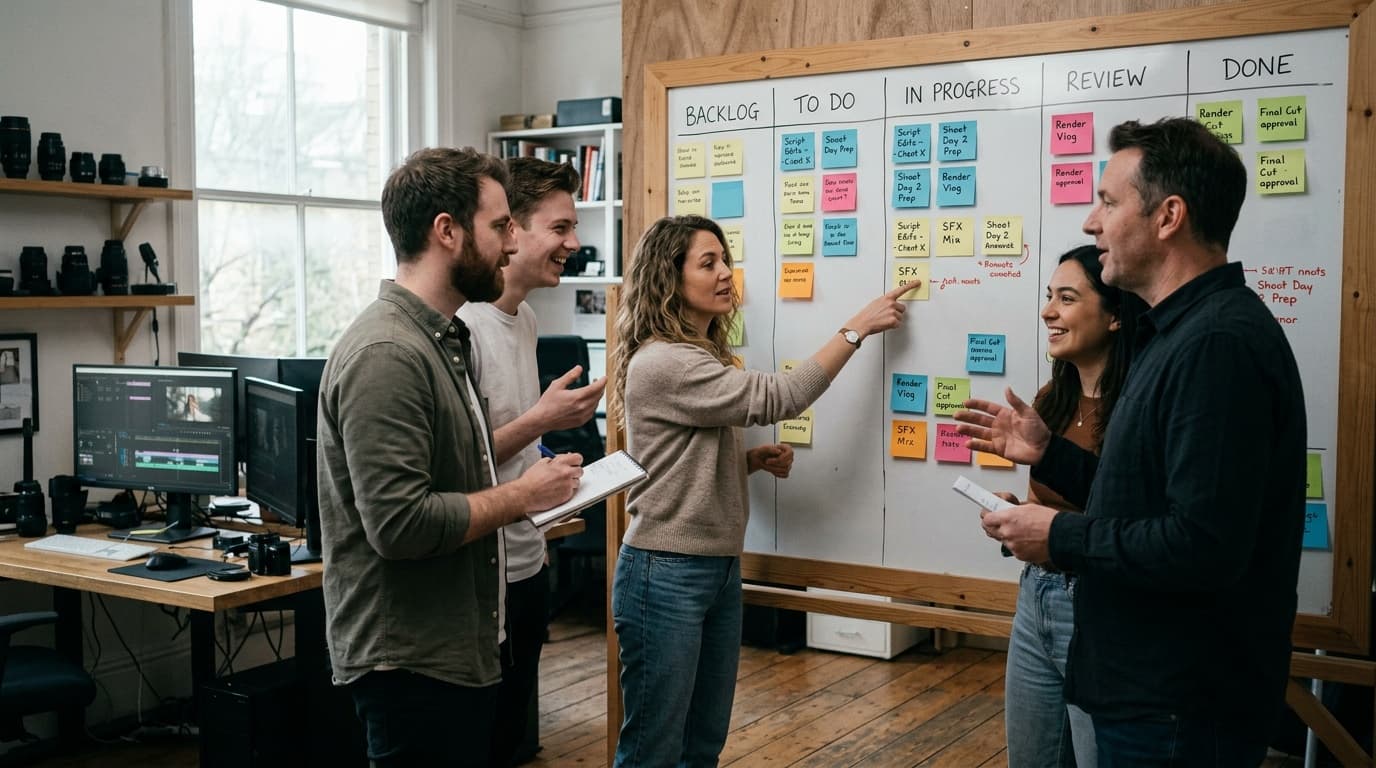
Step 2: Define Clear Task Stages and Status Workflows
A pile of tasks in a flat to-do list tells you nothing about where work actually stands. Map your production process to explicit stages that every team member understands:
- To Do — The task has been briefed and assigned but work has not started.
- In Progress — An editor is actively working on the cut.
- Internal Review — The edit is ready for a supervisor or creative director to review before the client sees it.
- Client Review — The client has received the cut and is providing feedback.
- Approved — The deliverable has been signed off and is ready for final export or delivery.
These stages create natural handoff points where responsibility transfers from one person to the next, eliminating the ownership ambiguity described earlier. Tailor them to your team — a small studio might collapse internal and client review into a single stage, while a large agency might add stages for QC, localization, or platform-specific formatting.

Step 3: Replace Email and Slack Feedback with Timestamped Video Review
This single change will save more revision cycles than anything else on this list. When a reviewer watches a cut and sends feedback via email or Slack, the notes tend to be vague: “The transition around the middle feels off” or “Can we tighten up the intro?” The editor then has to guess which exact frame the reviewer is referring to.
Timestamped video review tools solve this by letting reviewers click directly on the video timeline and drop a comment at a specific timecode. Some tools even allow drawing annotations on individual frames. The result is feedback that is precise, actionable, and impossible to misinterpret.
What good review feedback looks like
- Vague: “The pacing is slow in the middle section.”
- Precise: Comment at 1:42 — “Cut this B-roll shot by 2 seconds. The interview bite at 1:47 should come in immediately after the transition.”
Precise feedback means fewer interpretation errors, which means fewer revision rounds. Teams with structured review processes reduce revision rounds by 40–60% (Timeliner user data).
Step 4: Set Internal and External Deadlines That Everyone Can See
Deadlines only work when they are visible, shared, and differentiated. Most teams should maintain two deadline layers:
- Internal deadlines — The date by which the editor needs to have a first cut ready for internal review. This is your buffer.
- External deadlines — The date the client expects to receive the deliverable. This is the date your reputation depends on.
When both deadlines are visible on a shared dashboard, producers can spot problems before they become emergencies. If an editor's internal deadline is tomorrow and the task is still in “To Do,” that is a clear signal to reassign or reprioritize.
Step 5: Track Revisions and KPIs to Identify Bottlenecks
The final step in building a mature video editing workflow is measuring it. You cannot improve what you do not track. The metrics that matter most:
- Revision count per deliverable. If the average video goes through four rounds, that points to unclear briefs or imprecise feedback.
- Time per stage. How long does a task sit in “Client Review” versus “In Progress”?
- On-time delivery rate. The metric clients care about most.
- Editor utilization. Rebalancing assignments can prevent burnout and missed deadlines simultaneously.
Tracking these numbers over time reveals patterns that let you make targeted improvements instead of guessing.

How Timeliner Maps to Each Step
You can implement these five steps with any combination of tools. But the reason fragmented setups break down is the same reason most workflows are broken in the first place: information scattered across platforms. The average agency loses 12–15 hours per week to tool-switching alone (RescueTime).
Video project management software that is purpose-built for post-production teams consolidates these steps into a single environment. Timeliner was designed specifically around the workflow described here:
- Centralized projects — Each project holds its brief, assets, and tasks in one place.
- Customizable status stages — Define your own pipeline from To Do through Approved.
- Built-in video review — Reviewers drop timestamped comments directly on the video player. No screenshots, no email threads, no guesswork.
- Dual deadlines — Internal and external deadlines are first-class fields on every task.
- Revision tracking and analytics — Version history is automatic, and project-level metrics help you spot bottlenecks.
Getting Started
You do not need to implement all five steps at once. If you are drowning in scattered feedback, start with step three: get a timestamped review tool in place and watch your revision counts drop. If ownership is the bigger problem, start with step two. Each step builds on the others, but each one also delivers value on its own.
The teams that run the smoothest video editing workflows are not necessarily the most talented — they are the ones who treat their process as a product. Companies that centralize their creative workflow report 35% higher client retention (Workamajig Benchmark). Start with these five steps, and you will have a workflow that scales with your team instead of against it. If you are evaluating tools, see our Timeliner vs Frame.io comparison or explore pricing plans to find the right fit.