Automations: let Timeliner do the next step
Build flows and classic rules that move tasks, assign people, chase clients, notify your team and schedule approved posts on their own.
6 min readUpdated November 7, 2026
Video lesson: Automation Studio
Overview
An automation runs by itself when something happens on a task: "when this happens, then do that". It can move a task to the next stage, assign an editor, remind the team before a deadline, chase a client who hasn't reviewed, or write a caption and schedule an approved post.
There are two kinds, on one page. Flows are built on a visual canvas and can wait, branch and chase. Classic automations are one-step "When / Then" rules. Timeliner's own default behaviours, such as review timers and status notifications, are listed beside them as Built in.
Where to find them, and who can use them
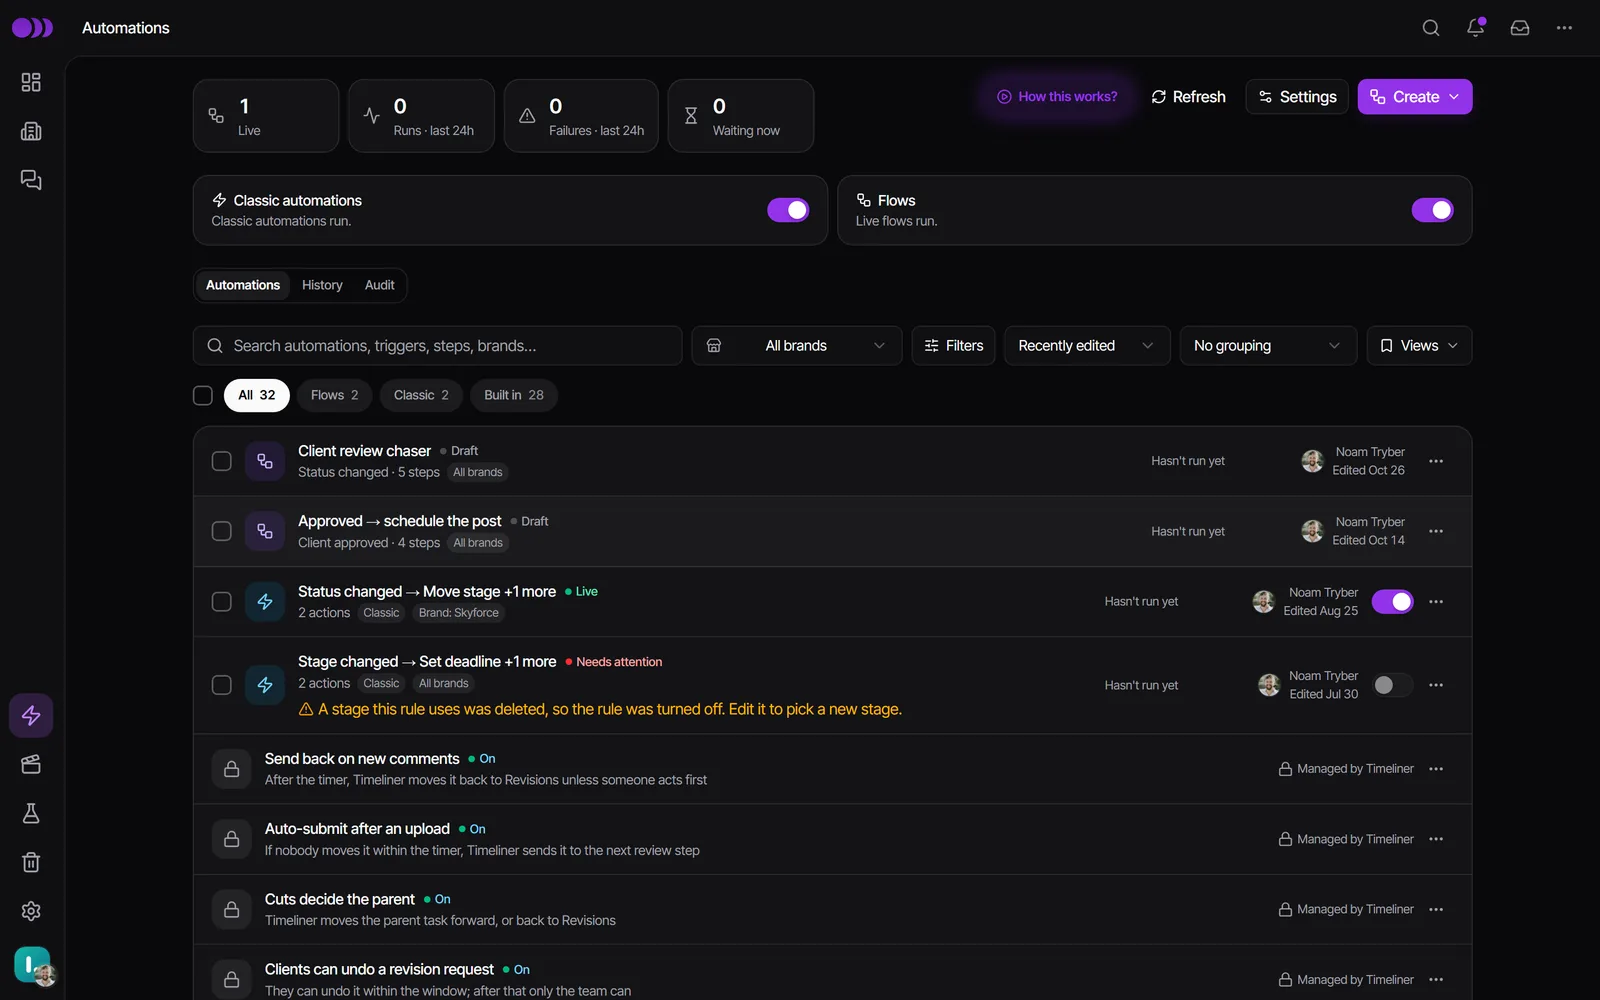
- Click Automations in the left sidebar. One page lists every automation with where it runs (a brand's name, All brands, or an HQ board) and when it last ran.
- The chips All, Flows, Classic and Built in filter the list; the Brand dropdown shows All brands, Workspace-wide or one brand.
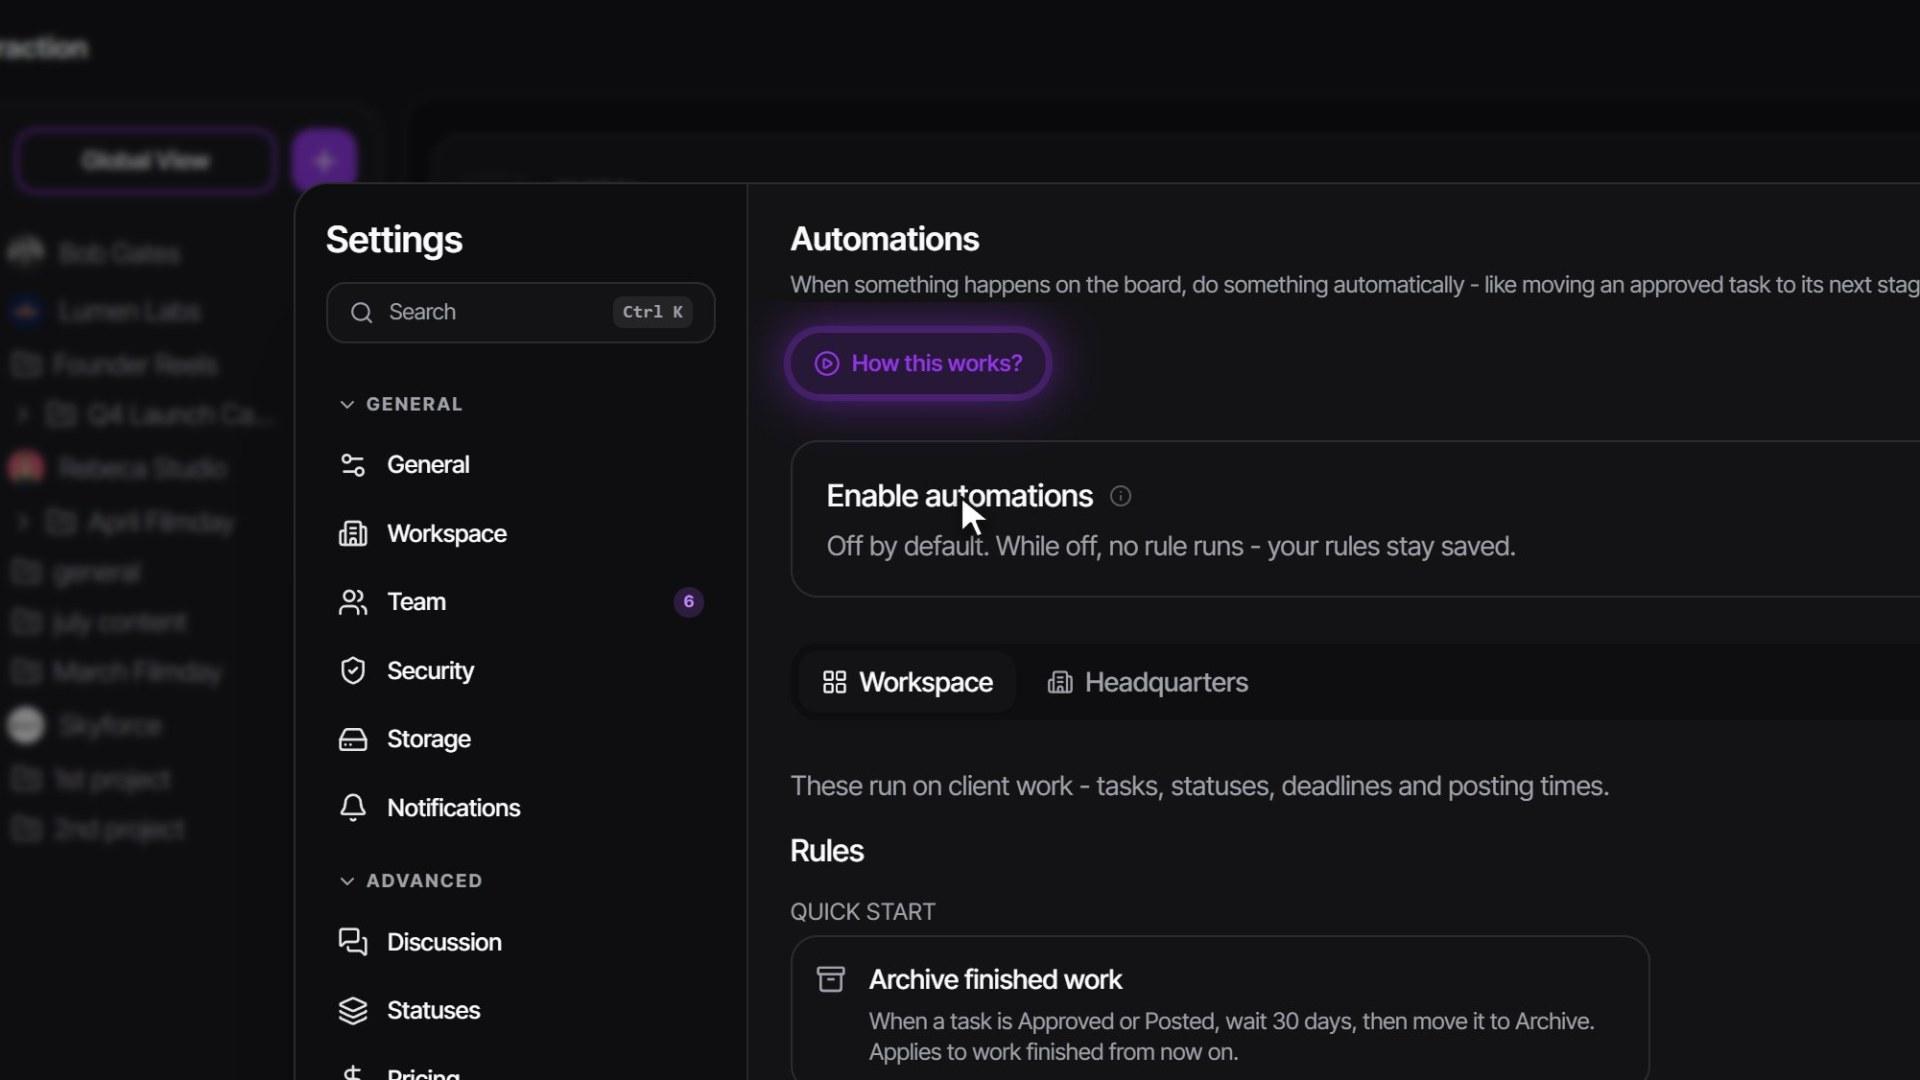
- At the top, Runs · last 24h, Failures · last 24h and Waiting now open the matching history. The Classic automations switch turns every classic rule on or off; Flows on or off does the same for flows.
- Admins build and change everything. Supervisors see everything read-only. Editors don't see the page.
- Building flows and creating classic rules needs the Agency plan or higher. Built in behaviours work on every plan. See pricing.
Create an automation
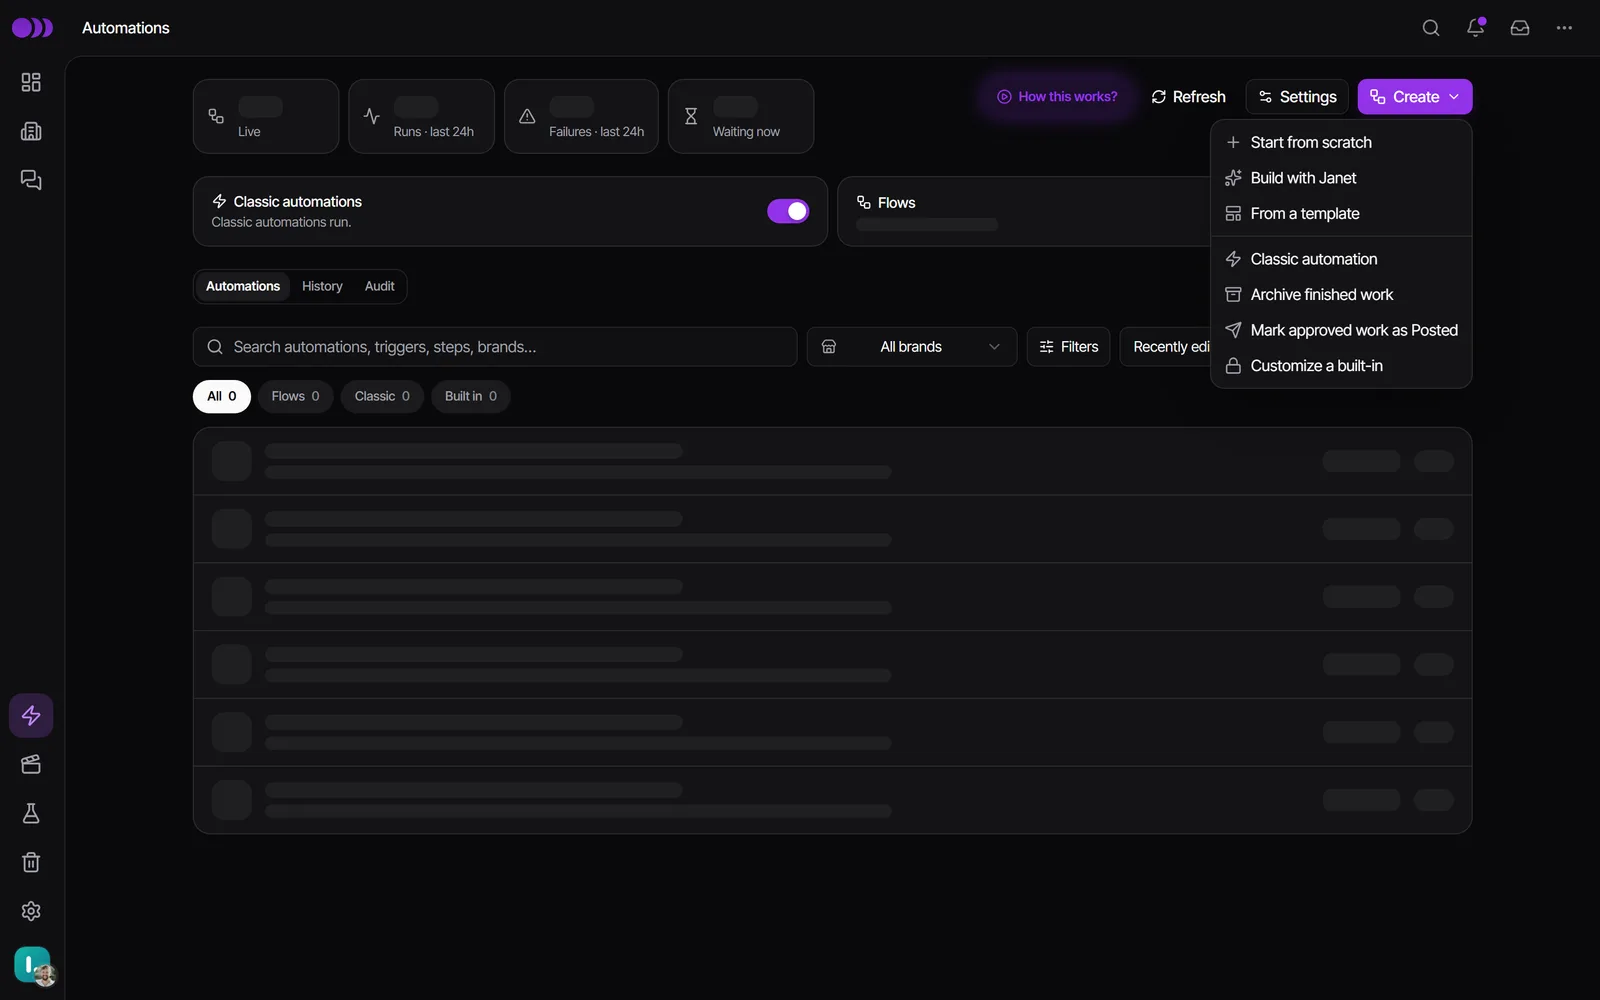
Click Create on the Automations page and pick a starting point:
- Start from scratch: an empty flow on the canvas.
- Build with Janet: describe it in words and Janet drafts the flow for you to check.
- From a template: ready-made flows for video agencies, such as Client review chaser or Approved → auto-publish. Each installs as a draft.
- Classic automation: the one-step builder, with Runs on set to All brands or one brand.
- Archive finished work and Mark approved work as Posted: classic rules already filled in. Nothing is saved until you click Create automation.
- Customize a built-in: start a flow that does one of Timeliner's default behaviours your way.
Build a flow
- On the canvas, click Add a trigger, for example a status change.
- Click the + on a line to add a step. Actions include Set status, Send notification, Assign, Auto-assign and Post to Slack. Logic includes Wait, If / else, Goal, Split, Go to, Add to another flow and Stop.
- Click a step to set it up in the panel on the right. Edit details opens the full controls. A Send notification step lets you write your own Message, with variables from Insert.
- Click Test to run the draft on a real task without changing or sending anything. It lights up the path the task would take.
- Click Publish. Timeliner checks the flow against every live automation first, and the flow only acts on things that happen after publishing.
Edits to a live flow stay a draft until Publish changes. Inside a flow, Enrollment history shows which tasks are where, and Execution logs shows each run. Building the canvas needs a tablet or computer; on a phone a flow opens as a list of its steps.
Create a classic rule
- Click Create → Classic automation.
- Under Runs on, keep All brands or pick one brand.
- Under When, pick a trigger, such as Status, Stuck in status, Deadline approaching, Comment added or Version upload.
- Under Then, pick an action and click Add action for more.
- Read the sentence the builder writes back, then click Create automation.
| You want | Use |
|---|---|
| Remind the team two days before the deadline | Deadline approaching → 2 days before → Notify Assignees |
| Know when a task sits in client review for 3 days | Stuck in status → Client Approval → 3 days → Notify |
| Give new work to whoever is least busy | Status → Auto-assign |
| Archive work 30 days after approval | Create → Archive finished work |
| Connect another tool | Call a webhook (out) or Inbound URL (in) |
Auto-assign picks one person from All editors, A role or People I choose. By default (Lowest workload) it takes whoever has the lightest booked next 14 days. Flag it when the pool is full and Limit tasks per person per day are optional. More in Workload and capacity.
Automate posting
On plans with social posting, two actions handle approved posts:
- Write caption (AI): writes the post's caption in the brand's voice, only if it has none. A new video is transcribed first, so the caption lands a little later. It uses AI credits.
- Schedule into posting plan: puts the post into the next free time of the brand's posting plan. A post someone already scheduled keeps its time.
Together they make the template Approved → auto-publish. The Auto-publish approved posts switch on a brand's Posting plan tab creates exactly this rule for that brand. If a post can't be scheduled (no posting times, no free time in the next 10 weeks, or no network), the rule's history says why and the brand's alert person is told. See Schedule and publish social posts.
Different rules for different brands
Rules belong to the whole workspace or to one brand, never to a single project. Open the brand's Automations chip in its header to choose which rules run there:
- Use workspace automations (the default): only the shared rules.
- Use this brand's automations only: the shared rules are off for this brand.
- Use both: shared rules first, then the brand's own.
Check what an automation did
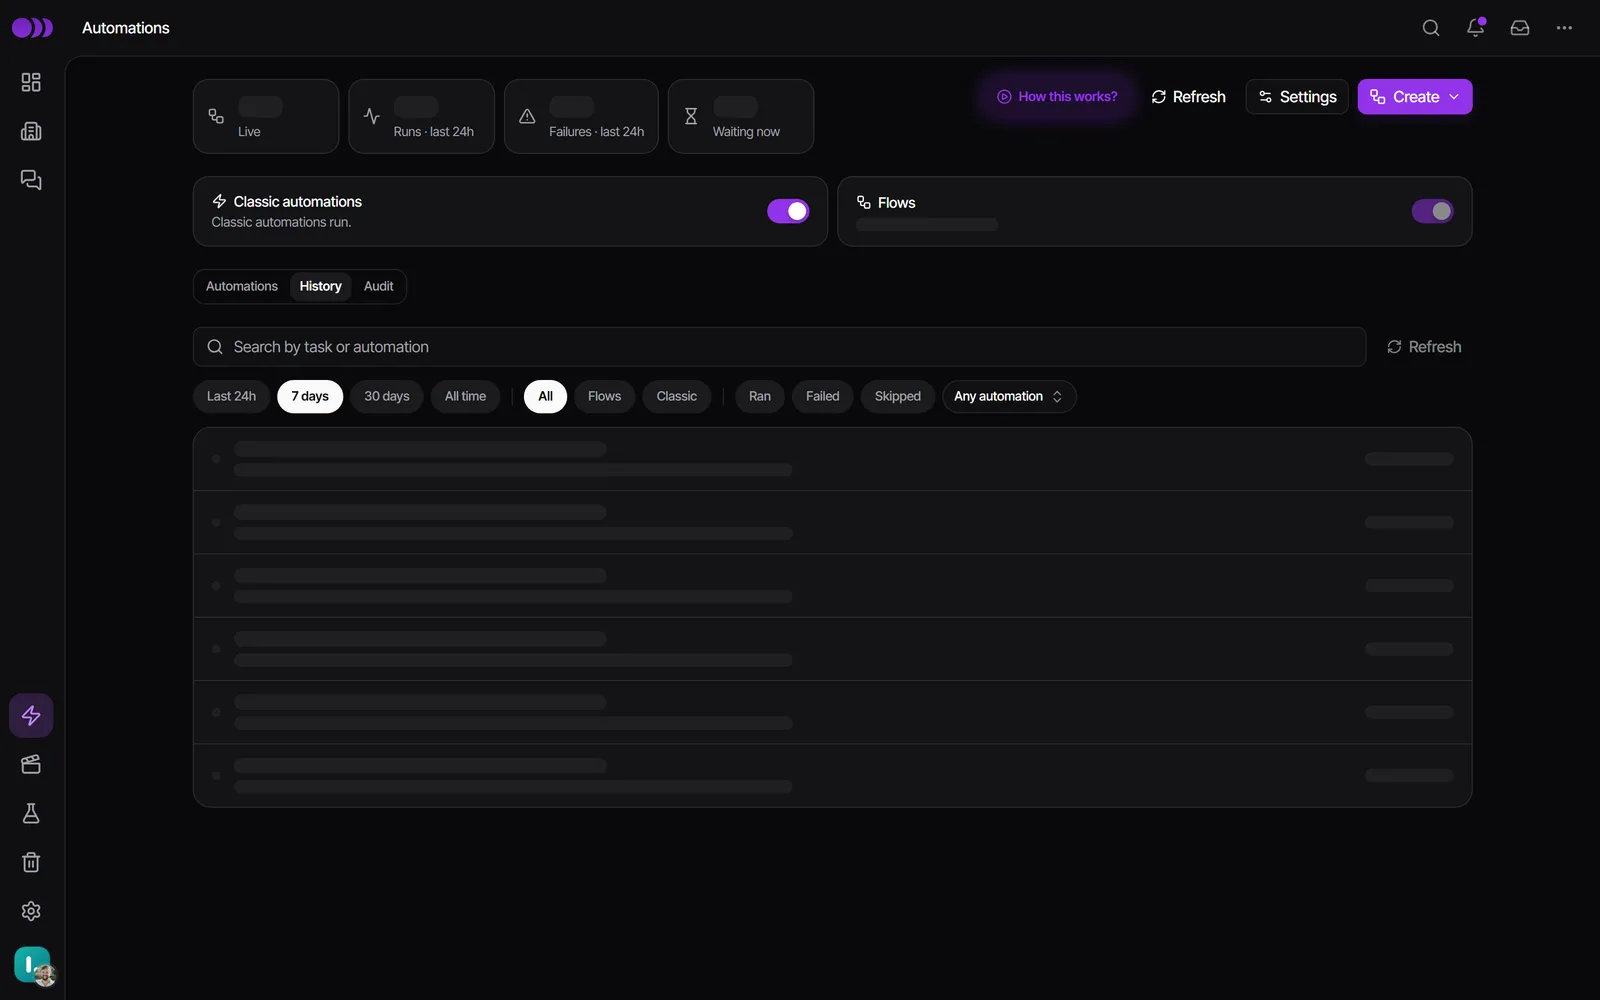
- Each row says when it last ran, "Hasn't run yet", or that the last run didn't fully land.
- A row's … menu → View history shows its runs. On a classic rule, Run history lists the latest 50 with the task and why any step was skipped.
- When your own change sets off a rule, an "Automation ran" message says what it did.
- A rule whose stage or date field was deleted reads Needs attention until you pick a field that still exists.
Good to know
- There is no "task created" trigger.
- One automation's change never sets off another rule's instant trigger. To chain flows, use Add to another flow.
- No catch-up: switching a rule on doesn't act on tasks already in that state.
- Notify reaches your team only, never clients. A client is told only indirectly, for example when Set status moves a task to Client Approval.
- Classic rules: 25 per rule set (50 on Scale and Enterprise). Flows: up to 100 steps, and a wait lasts at most 90 days.
Watch it
Questions people ask
Why did my task move, or why was I assigned, by itself?
Probably an automation. The notification names "Automation" as who did it, and an admin can check that rule's history.
My automation isn't running. What should I check?
Check the Classic automations switch (for flows, that the flow is published and not paused) and the rule's own switch. The change must happen after the rule is on, and a change made by another automation doesn't fire an instant trigger.
Can an automation email my client?
Not directly. Notify is team-only. Moving a task to Client Approval with Set status sends the client's usual notification.
Can I chase a client until they review?
Yes. Create → From a template → Client review chaser nudges your team if a client hasn't reviewed in 24 hours, escalates after 3 days, and stops when they approve or ask for changes.
Can Janet build automations?
Yes, for admins. Build with Janet drafts a flow on the canvas; you review it and click Publish yourself.
Still stuck?
Ask Janet, the assistant inside Timeliner, email our team, or ask the community on Discord. We answer every message.