Tasks, parent tasks and cuts
Create media and document tasks, find your way around the task screen, and group alternative cuts of one video under a parent task.
8 min readUpdated November 7, 2026
Video lesson: Media Tasks
Overview
A task is one deliverable: one video, one image, one script. It lives inside a project and carries everything about that piece of work: the brief, the files, the comments, the deadline and who is working on it.
There are three kinds. A Media task holds a file for review. A Document task holds written work, like a script or a caption, edited right inside Timeliner. A Parent task groups several cuts of the same deliverable, such as a 16:9, a 9:16 and a 1:1 version of one ad, so they move through review together.
Create a task
- Select a project in the left panel.
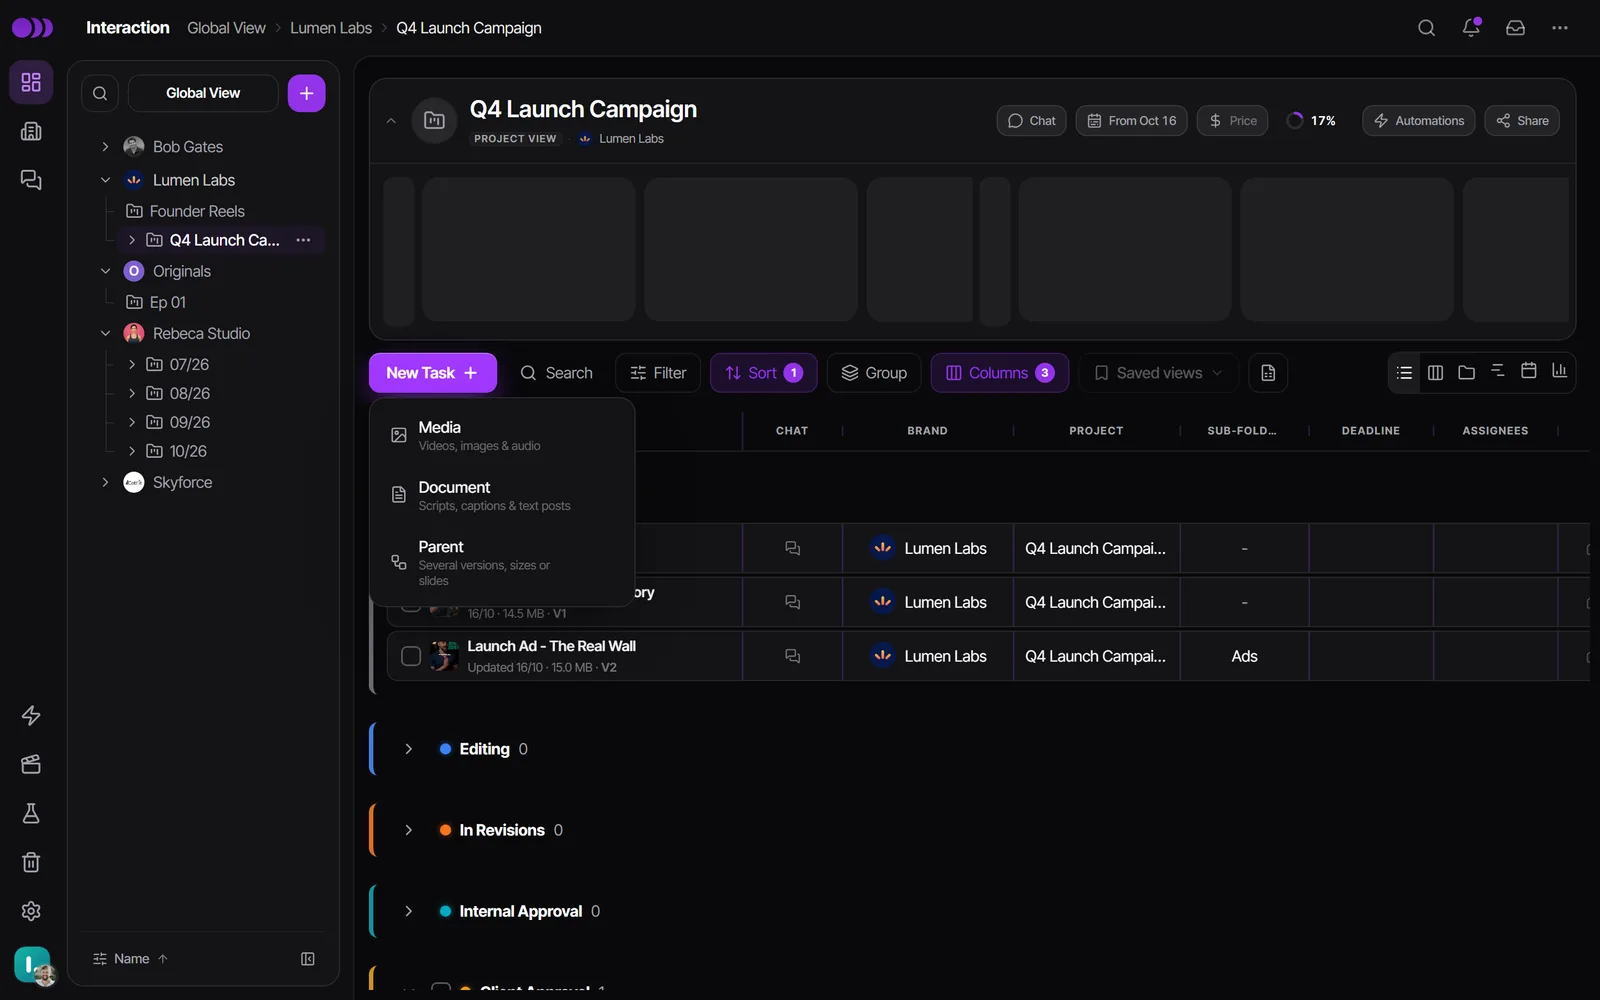
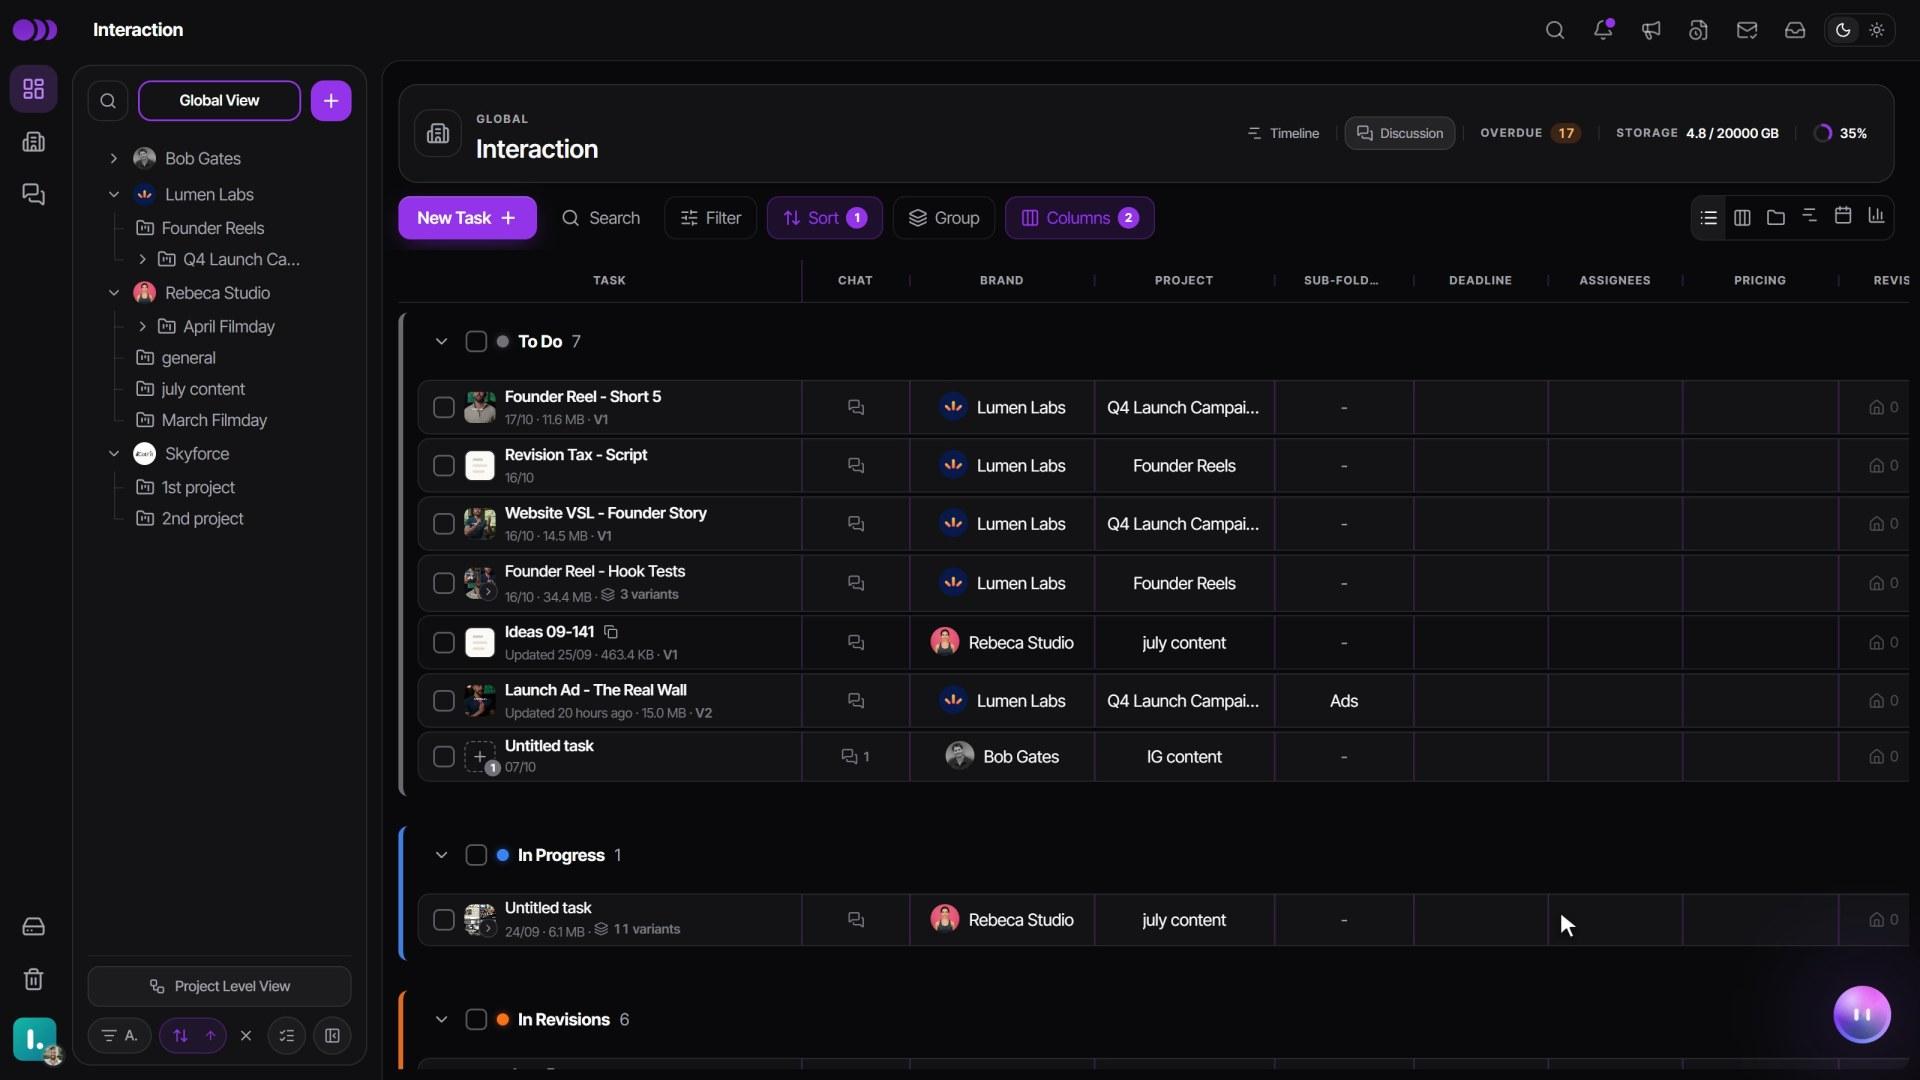
- Click New Task at the top of the task list (each Kanban column has one too).
- Choose Media for a video, image, audio file or PDF, Document for written content, or Parent for a set of cuts.
- Type a name. To create several empty tasks at once, hover the Media or Parent row and pick a number from 1 to 25.
The fastest way to make media tasks is to drag files from your computer onto a status group in the list or Kanban. One file becomes one task named after the file, and the upload starts right away. With two or more files, Timeliner asks How would you like to upload?: Create separate tasks makes one task per file, and Group under one task makes one parent task with a cut for each file. A dropped folder becomes one parent task named after the folder.
Nobody can create a task straight into Approved or Posted. Editors create tasks only in To Do or In Progress, and an admin can remove the button for editors with Block Editors from Creating Tasks. Creating a task notifies no one.
Find your way around the task screen
Click a task row to open it. The header has a stage switcher with three stages, and you can open any of them at any time:
- Plan: the Task brief, the brand's guidelines, its brand assets and the task's Media (the raw footage the editor cuts from). The Ready to edit card counts what is done and offers Upload the first cut while nothing is uploaded.
- Review: the player or document, with the Comments, Brief and Transcript tabs on the right. A task always opens here.
- Publish: the post for this deliverable, with the caption, channels and schedule, on plans that include social posting.
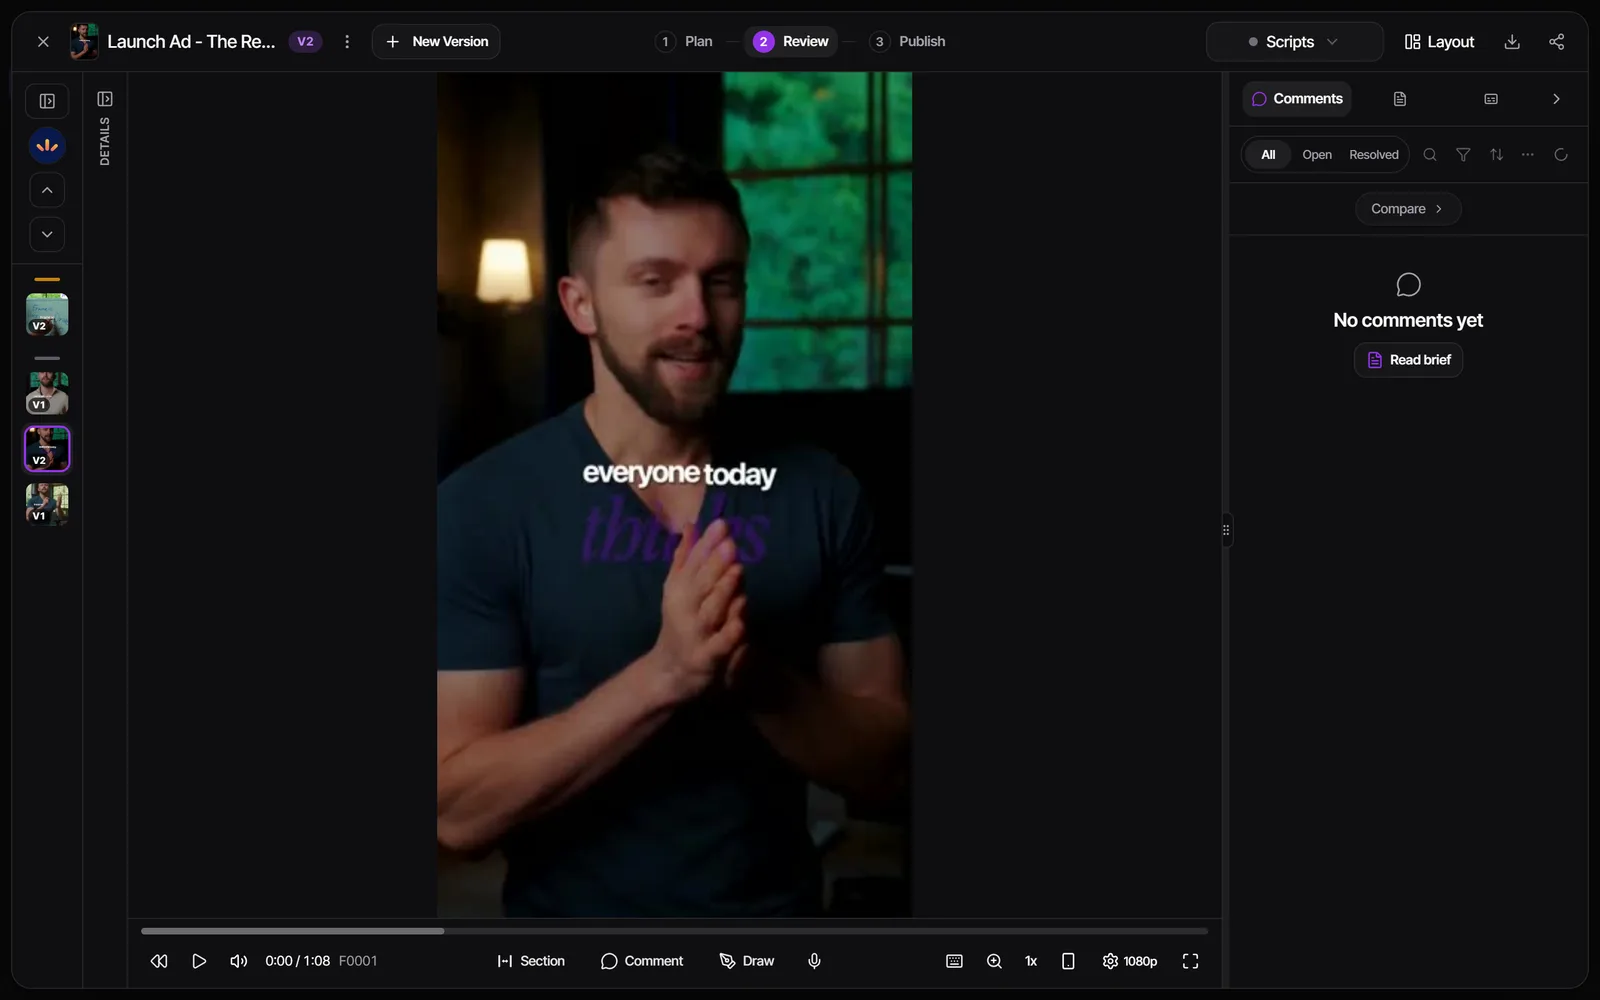
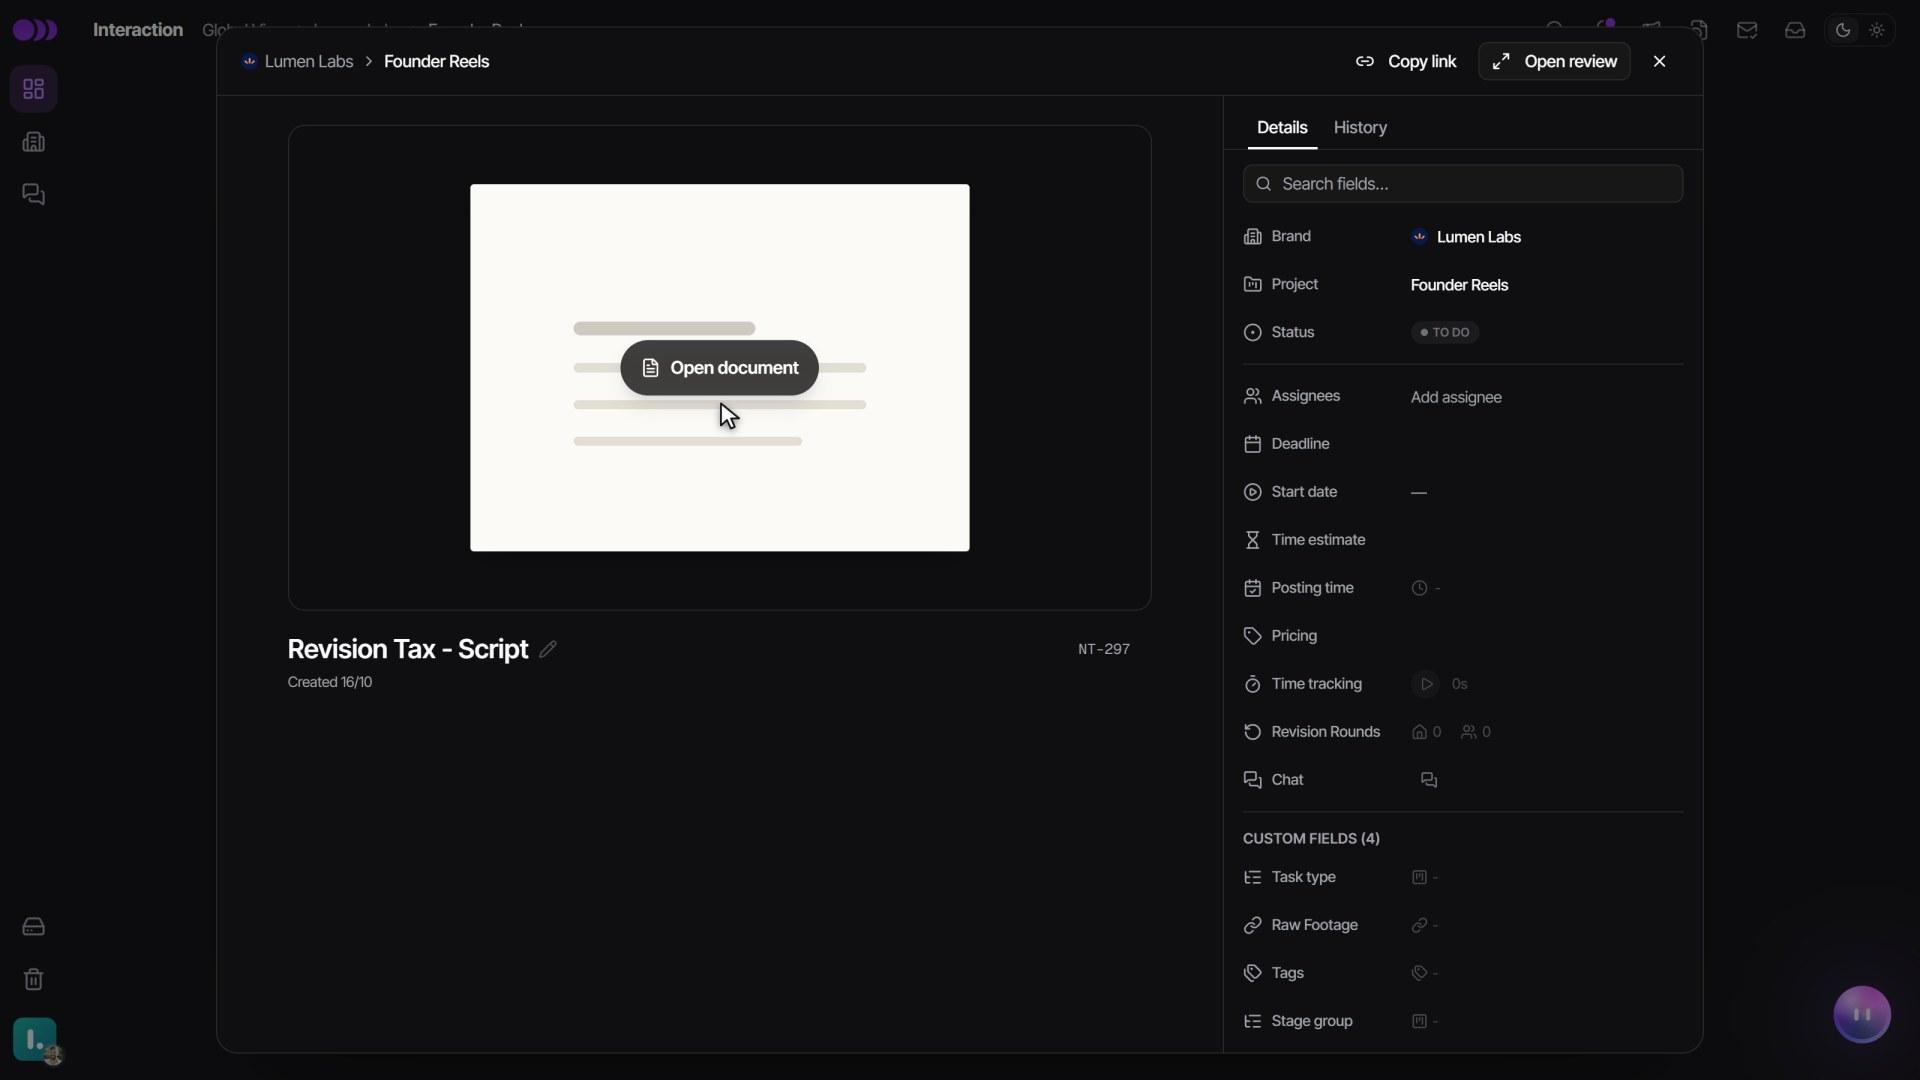
Deadlines, assignees, pricing, time tracking and your custom fields live in the Details panel on the left edge. Its History tab shows the task's activity log and every uploaded version.
To arrange the screen your way, open Layout in the header and pick a preset, then keep it with Save for me. Admins can also Save for team.
Clicking a task's name in the list renames it. If your team would rather open the task with that click, an admin can turn on Open tasks by clicking their name in Settings > Workspace > Basics. Renaming then moves to a double-click.
Write scripts and briefs in a document task
- Click New Task and choose Document, then open the new task.
- Click Templates in the toolbar to start from a script outline, a shot list, interview questions, a client brief or an edit brief, or from your workspace's own templates under My Templates.
- Write. The document saves as you type, and teammates editing at the same time see each other's changes within about a second.
- Switch to Suggesting when you want edits to show as suggestions that a supervisor or admin can Accept or Reject.
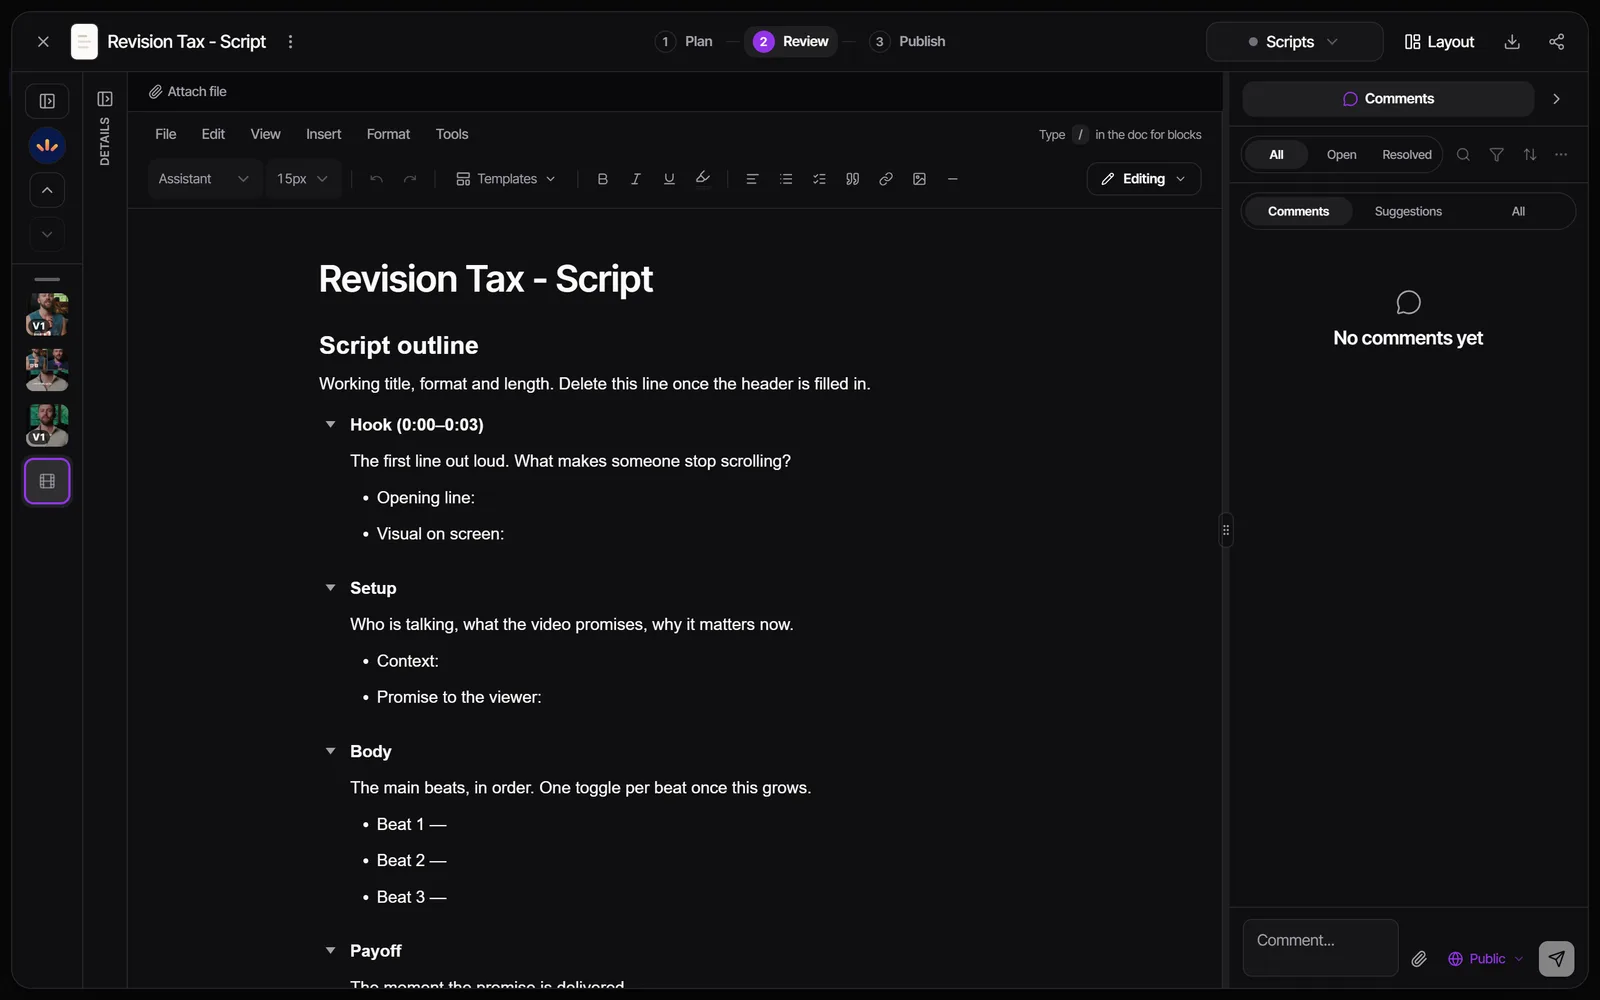
Earlier drafts are kept in the Details panel under History > Versions. Tick two and click Compare Versions to see what changed. Clients can comment on any passage. With Guest Document Editing on (the default), client approvers and commenters can also edit while the document is in In Revisions, Client Approval or End Client Approval.
Group alternative cuts under a parent task
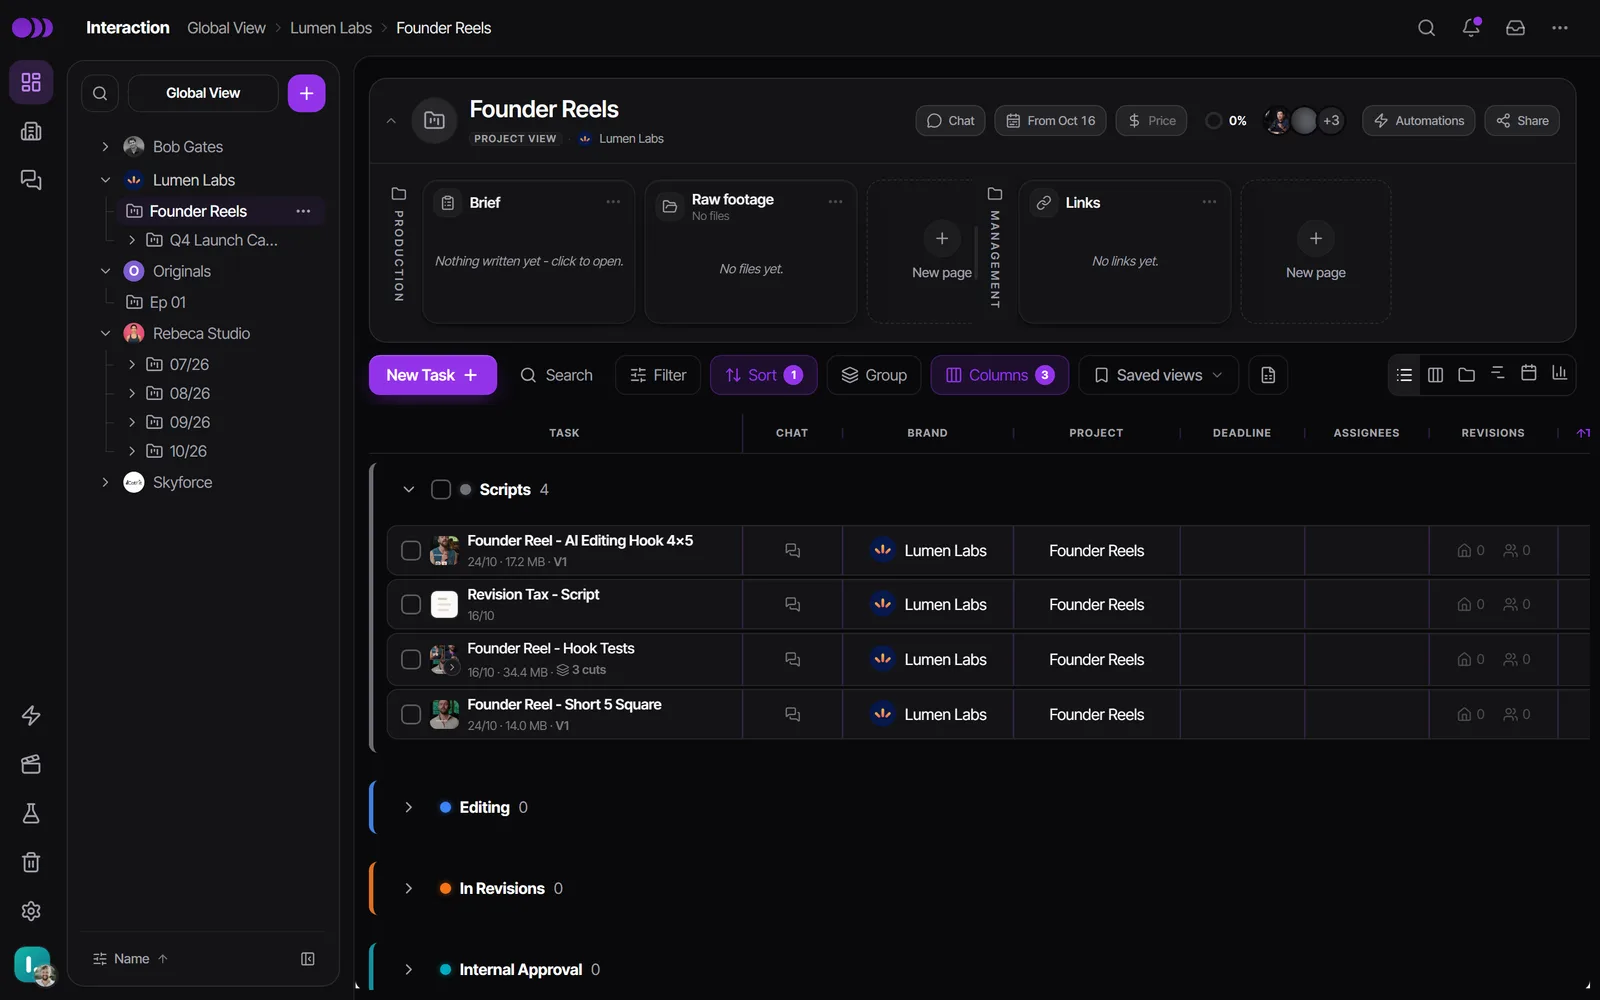
Use a parent task whenever one deliverable comes in more than one version: three hooks, a vertical and a widescreen edit, a long and a short cut. The parent has no file of its own. Each cut holds its own file, versions and comments.
- Click New Task and choose Parent, or drop several files and choose Group under one task.
- On an empty parent, click Add media cut or Add document cut. Later, expand the parent's row in the list and click Add cut. A parent can hold up to 100 cuts.
- Upload a file into each cut, the same way you would for a regular task.
Cuts share their parent's status: when you move the parent, every cut moves with it. What each cut has of its own is an approval state: Pending, Approved or Changes requested. Inside a cut, the header shows both: Whole task for the parent's status and This cut for the cut's approval. The strip of thumbnails below lets you step between cuts, and Approve all approves every remaining cut at once after a confirmation.
When the last cut is approved, a parent that is in revisions or an approval stage moves on by itself: to Approved, or to End Client Approval when the project sits under an end client's brand. A parent in To Do or In Progress stays where it is.
Turn existing tasks into a parent task
Already made separate tasks for what should have been cuts? You don't need to start over.
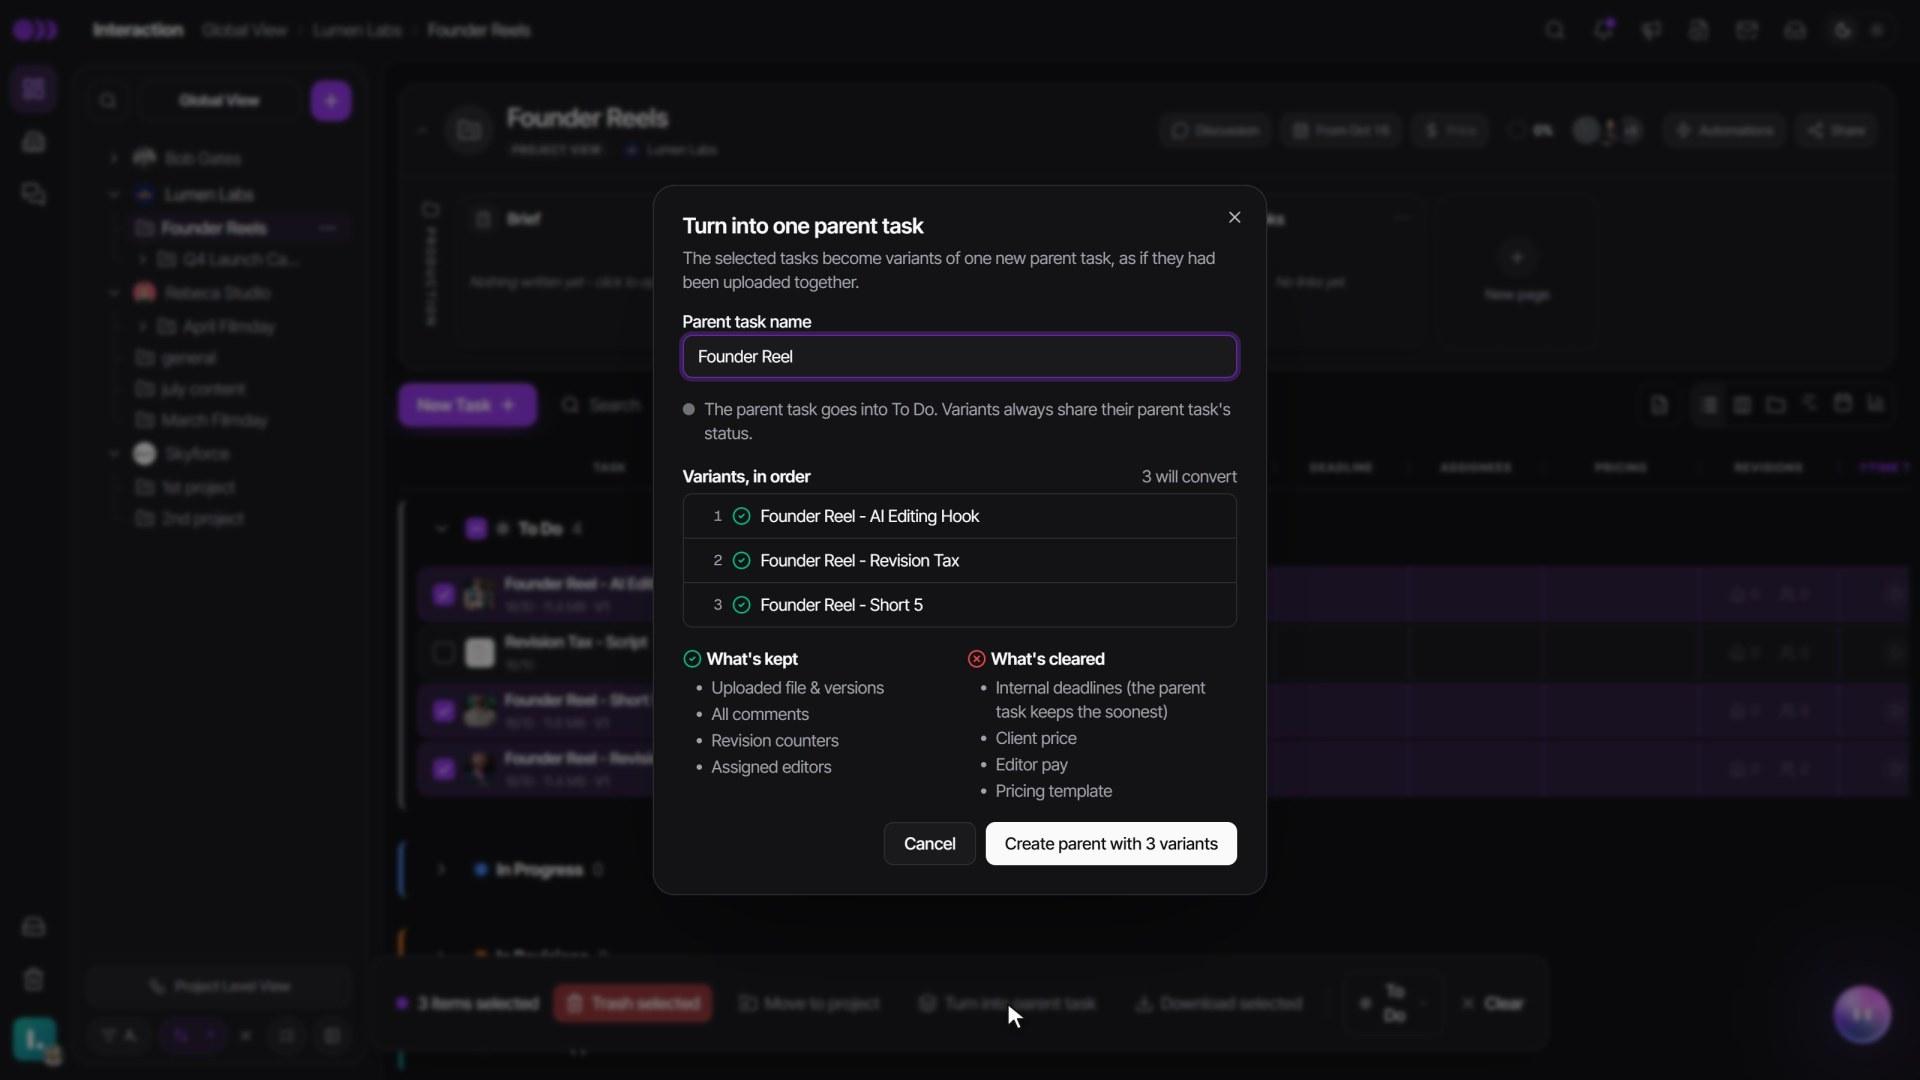
- Several tasks: tick two or more tasks from the same project, then click Turn into parent task in the selection bar. The dialog suggests a name, lists the cuts in order and says which status the parent will land in. If one of the ticked tasks is already a parent, the others join it.
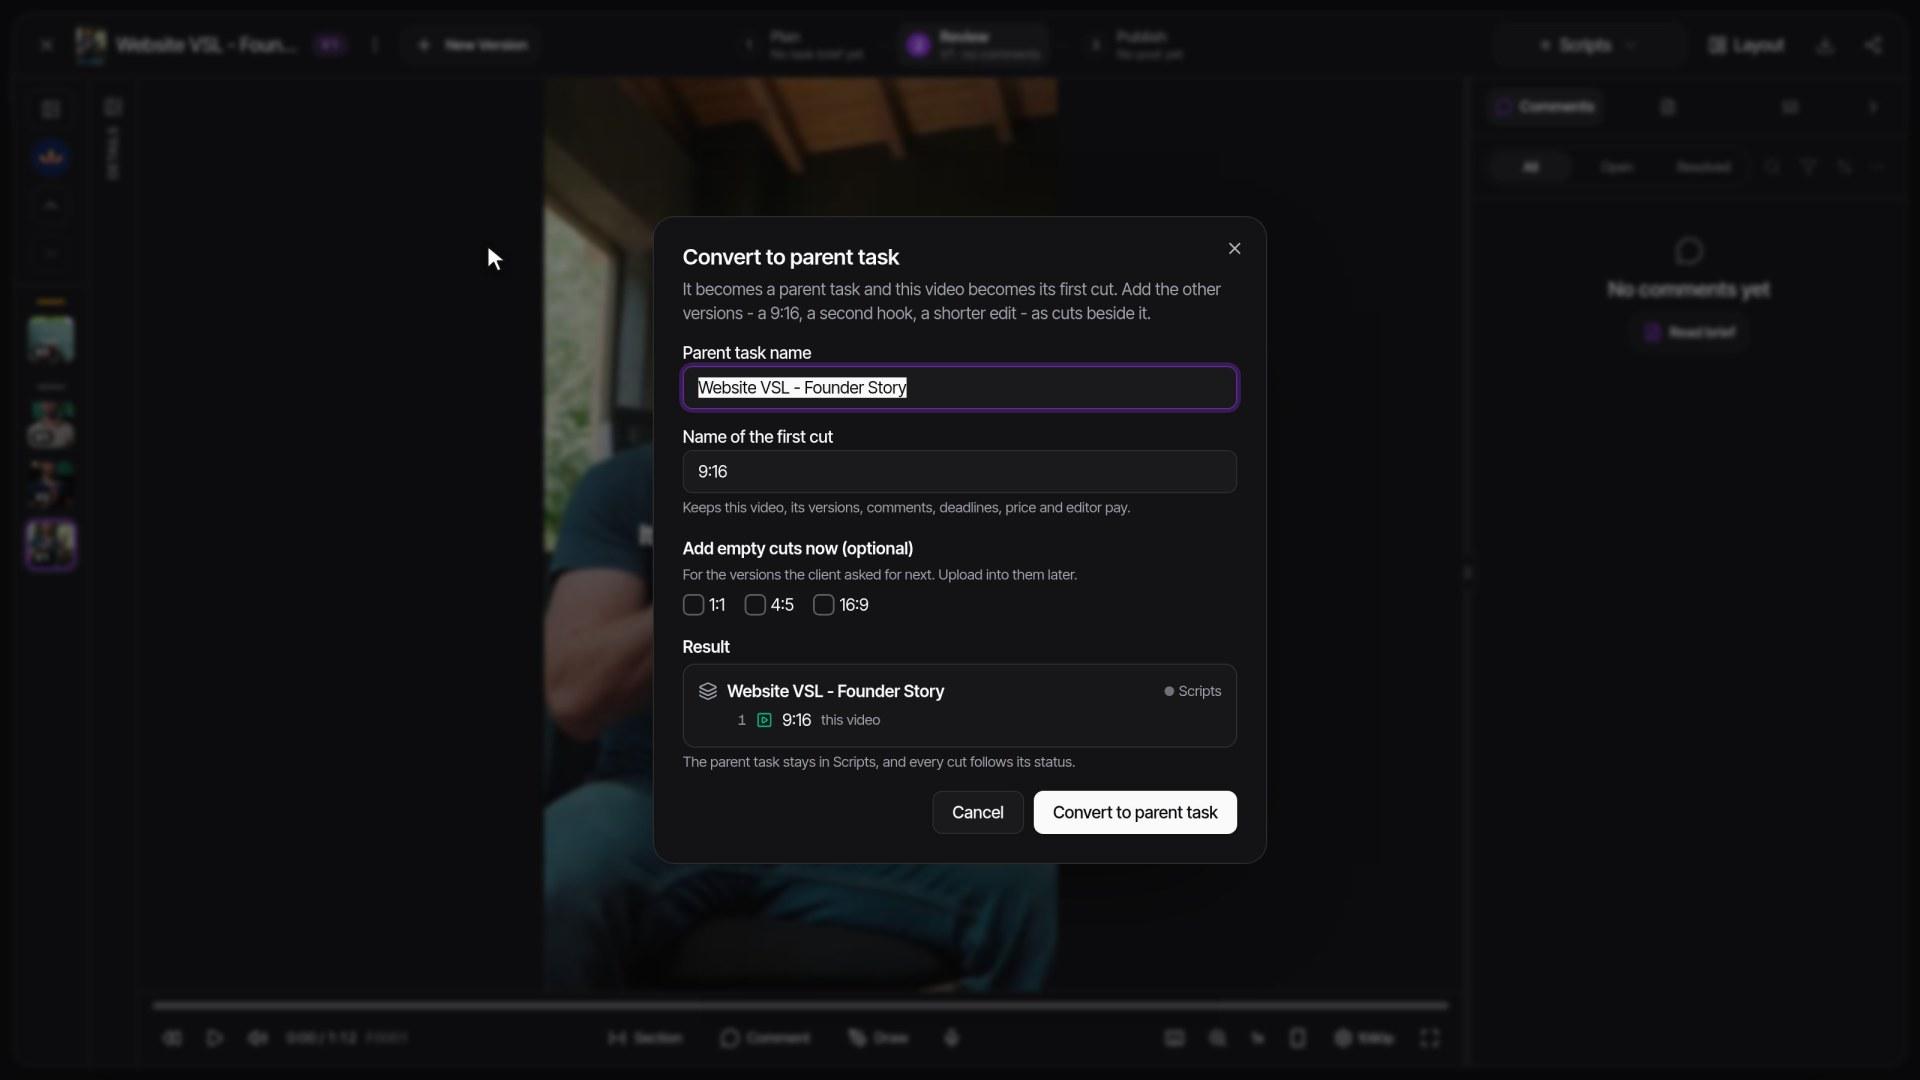
- One task: open the three-dot menu on its Kanban card, right-click it in Folders view, or open the task and use the three-dot menu next to its title, then choose Convert to parent task. Set the Parent task name and the Name of the first cut, and under Add empty cuts now (optional) tick the formats the client asked for next, such as 9:16 or 1:1.
- One task into an existing parent: drag the task onto the parent in the list or Kanban and choose Convert to cut.
Convert to parent task keeps everything on the video: its versions, comments, deadlines, price and editor pay all stay with the first cut, and the parent keeps the task's status, folder and column values. Turn into parent task and Convert to cut clear a few money and deadline fields; the dialog lists what is kept and what is cleared before you confirm. Each one shows an Undo for about 10 seconds.
To take a cut back out, use Detach from parent in the menu on the cut's approval badge. It becomes a standalone task again with its file, versions, brief, assignees and comments.
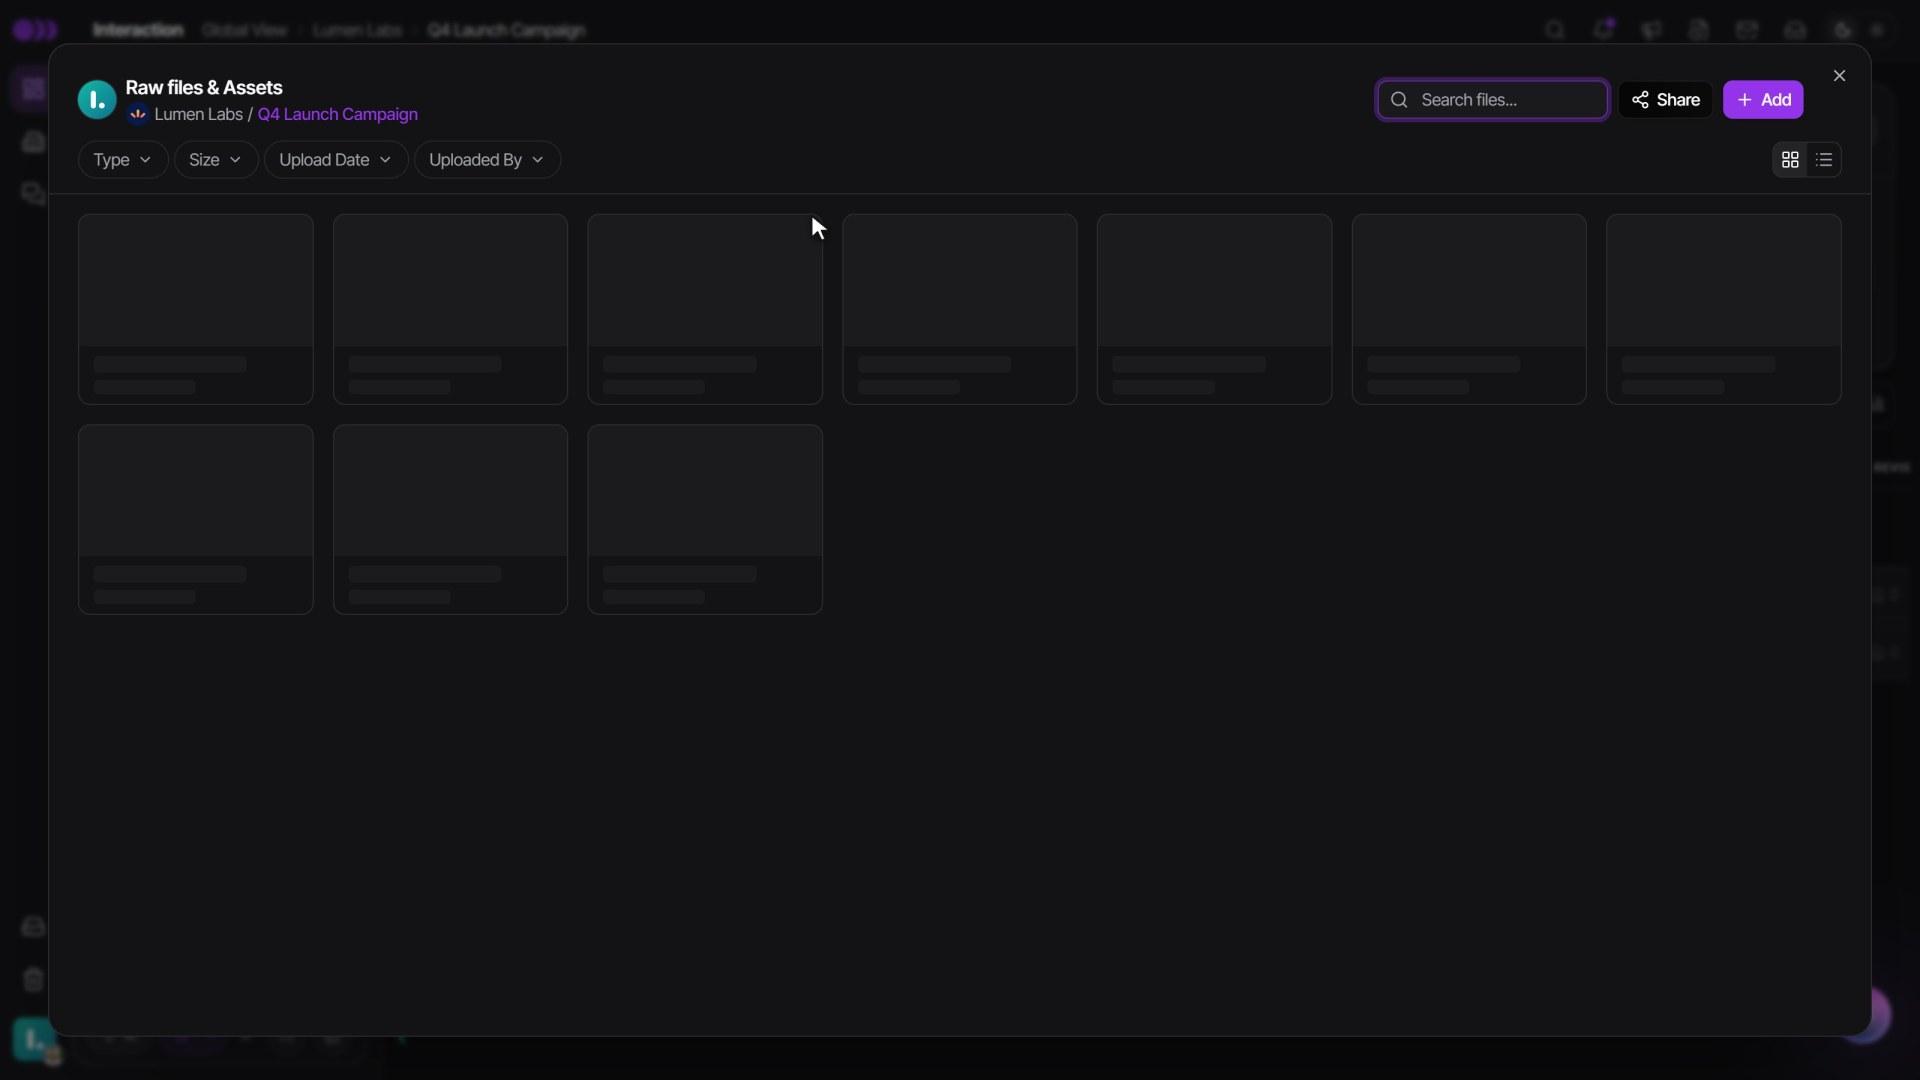
Make a task from a file in Raw footage
- Open the project's Raw footage.
- Right-click a finished video or image (or open its three-dot menu) and choose Create task from this file.
- The new task opens in To Do, named after the file, with the file already on it as version 1. Nothing is uploaded again.
Select several videos or images to get Create one task per file. The raw file stays where it was.
Who can do this
| Action | Admin | Supervisor | Editor | Clients (guests) |
|---|---|---|---|---|
| Create media, document and parent tasks | Yes | Yes | In To Do or In Progress only | No |
| Turn tasks into a parent, or convert one task to a parent | Yes | Yes | No | No |
| Switch a task between media and document | Yes | Yes | On tasks assigned to them | No |
| Move a task to Trash | Yes | Yes | Only tasks they created | No |
| Approve a cut | Yes | Yes | No | Approvers, at their review stage |
While a task waits on the client, a team member can mark a cut approved only as an admin, or as a supervisor when Supervisor Approval Override is on. Roles in full: Team roles and permissions.
Good to know
- Duplicate a task or a parent from its three-dot menu. The copy keeps the brief, custom fields, prices and assignees, but not uploaded versions, comments or approvals.
- Admins can save Parent task presets (for example "Video ad" with 9x16 and 1x1 cuts) in Settings > Workflow > Templates. One click on the preset under Parent creates the parent with those cuts.
- A regular task can switch type with Convert to document task or Convert to media task in its three-dot menu, as long as it isn't approved, posted, scheduled or already holding an upload.
- Use Copy task link in the three-dot menu to send a teammate straight to a task.
Watch it

Questions people ask
Does Timeliner have sub-tasks?
Yes. Cuts inside a parent task work as sub-tasks of one deliverable. Each cut has its own file, versions, comments and approval, and they all share the parent's status.
I made separate tasks for each version of an ad. Can I group them?
Yes. Tick them in the list or Kanban and click Turn into parent task. They must all be in the same project.
The client now wants a 9:16 version of a finished video. Do I need a new task?
No. Use Convert to parent task on the video's task. Its video becomes the first cut, nothing is lost, and you can add an empty 9:16 cut in the same step.
Can I move one cut to a different status than the others?
No. Cuts always follow their parent's status. Each cut has its own approval instead, and a cut that went live on its own can be marked Posted while the parent is Approved.
Why does clicking a task's name rename it instead of opening it?
That is the default. Click anywhere else on the row to open the task, or ask an admin to turn on Open tasks by clicking their name.
Still stuck?
Ask Janet, the assistant inside Timeliner, email our team, or ask the community on Discord. We answer every message.